|
|
Post by Waffen Ryan on May 4, 2011 20:41:37 GMT 8
Konichiwa... I'm so thankful to be given an original jap helmet by Raja...and because of this I wanted to restore the badly damaged helmet to look new and use it for my IJA impression. First part: I used paper mache to seal off the shrapnel hole of this helmet. 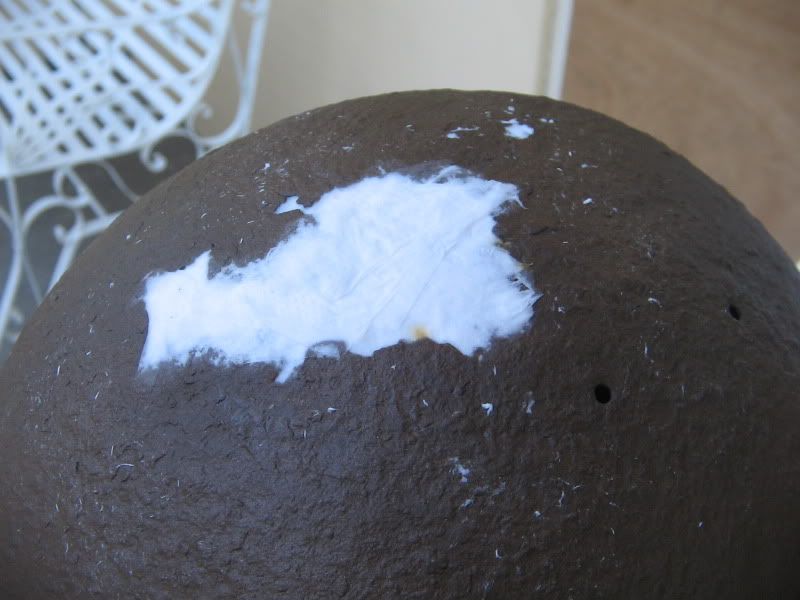 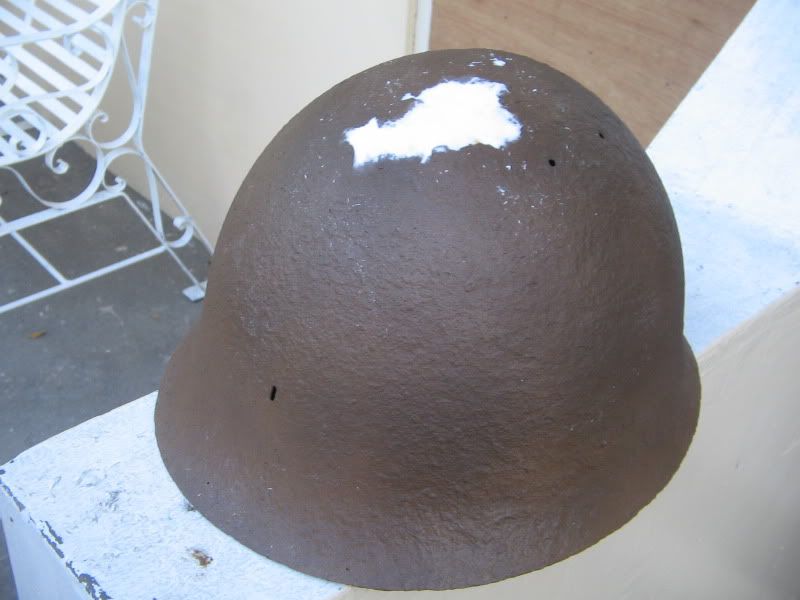 Part 2: I bought a resin sealant and sand papers to smoothen the surface...pictures to follow...haven't started yet. to be continued...  |
|
|
|
Post by jnmodeller on May 5, 2011 9:41:36 GMT 8
Ouch, its a relic.
|
|
|
|
Post by bathala on May 5, 2011 10:15:11 GMT 8
dont worry jn ill find you one if you want hehehehe. at least it serves again after decades of silence hehehehe.
|
|
|
|
Post by Waffen Ryan on May 5, 2011 20:09:13 GMT 8
Cont... Here it is again after sanding off rust, then first application of resin coat. 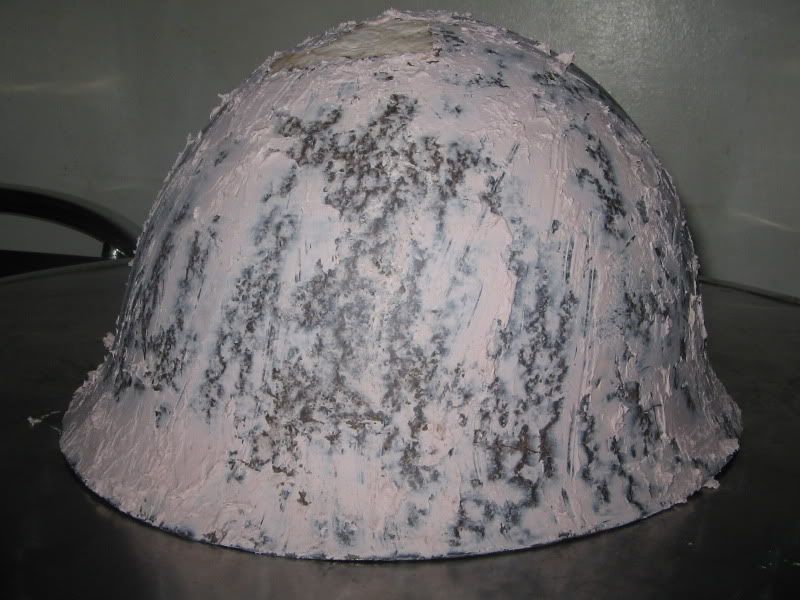 I'm still planning of applying resin/epoxy on the inside part to strengthen the paper mache. The shell feels brittle so I need to add support in it. To be continued...  |
|
|
|
Post by jnmodeller on May 5, 2011 23:17:38 GMT 8
dont worry jn ill find you one if you want hehehehe. at least it serves again after decades of silence hehehehe. Hi, thanks for the offer i have two one same in the photo and one in good condition.  |
|
|
|
Post by Waffen Ryan on May 10, 2011 14:04:43 GMT 8
Progress report...I'm quite happy with the outcome. Here it is after I sanded and added epoxy steel to the papier mache. 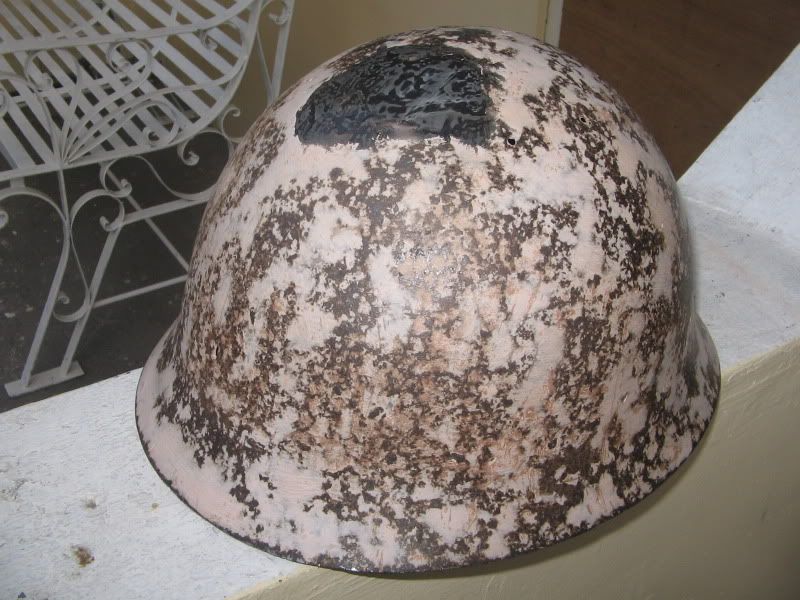 Then added a coat of resin on top of the epoxy to even out the surface. 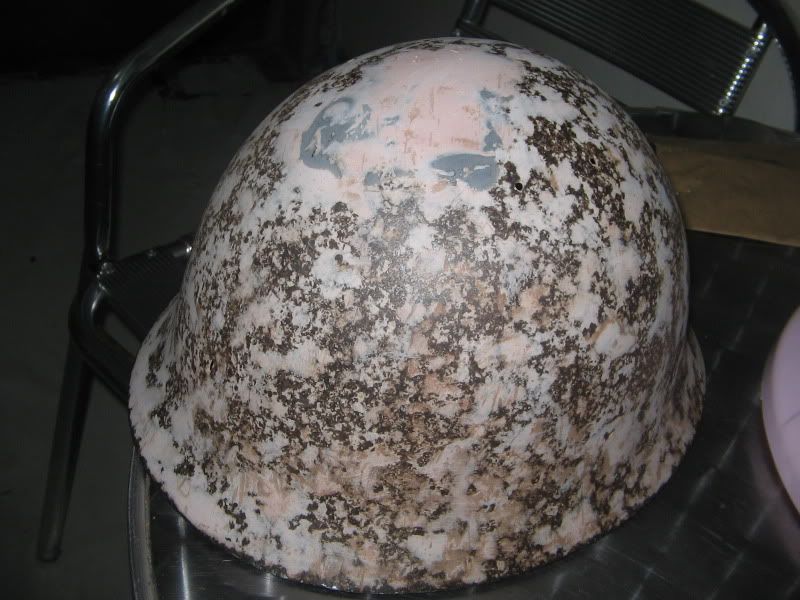 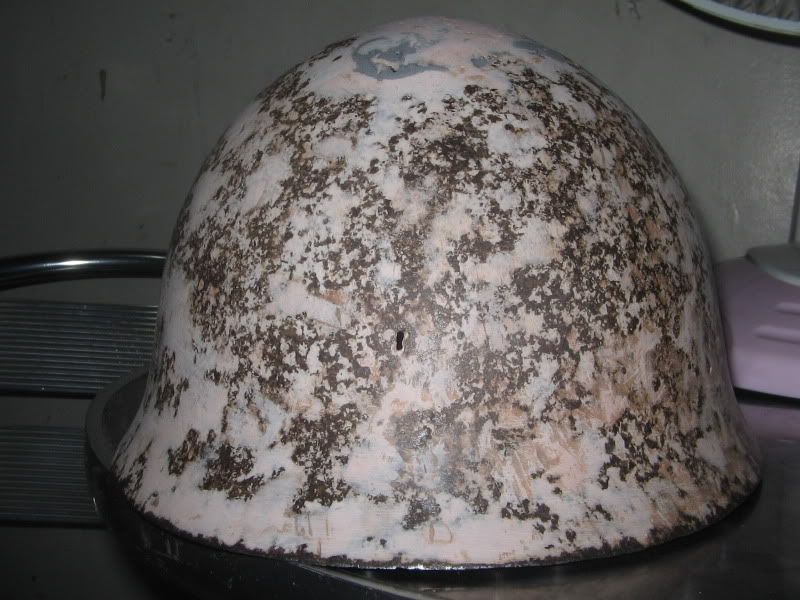 I then replaced a new set of key rings for the attachment of the liner (soon to order), the middle part is the steel epoxy covering the papier mache. 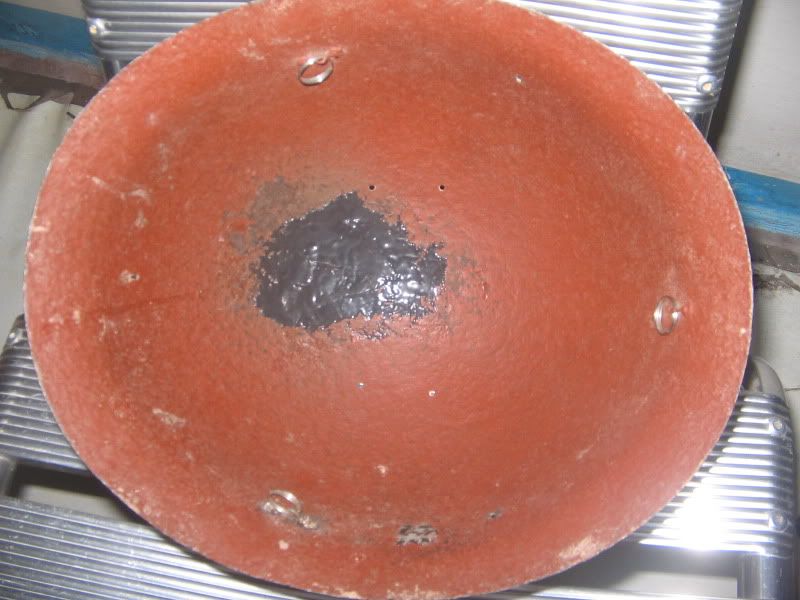 After the first coating of grey primer. 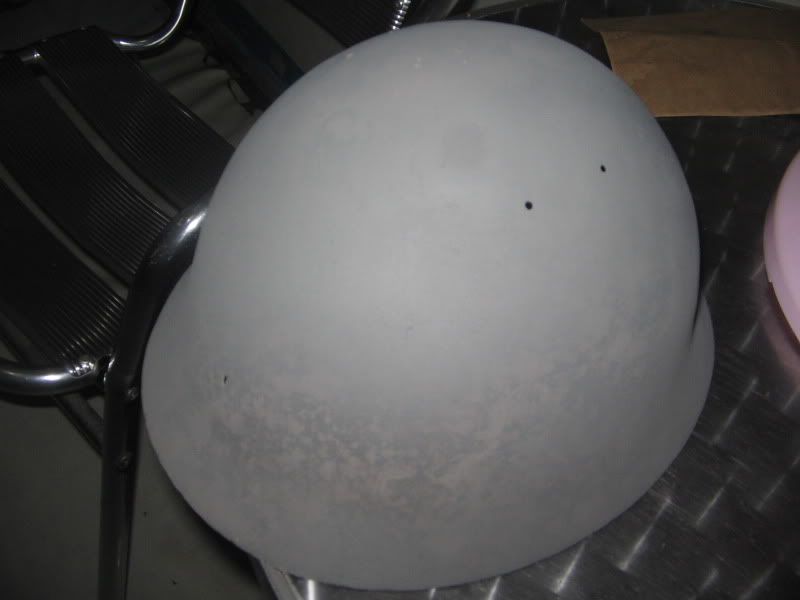 The new shape, soon this helmet will serve another front. 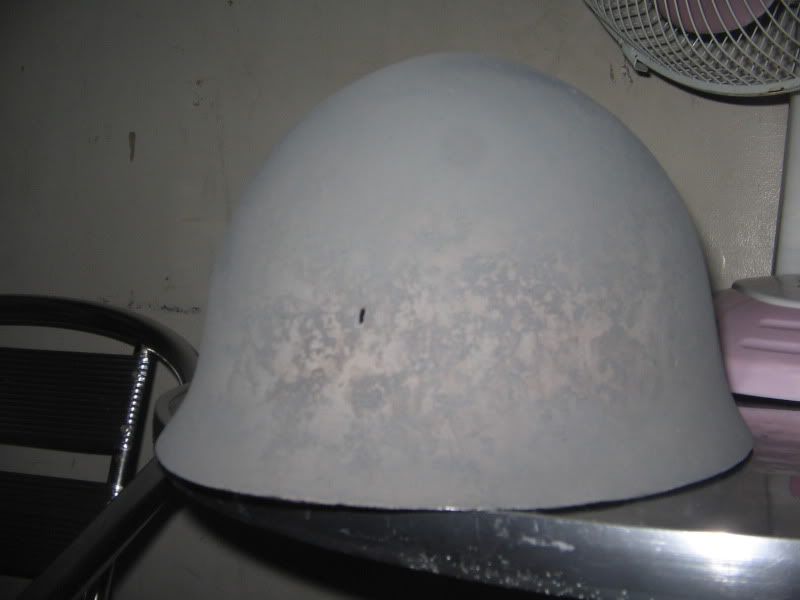 To be cont... |
|
|
|
Post by bathala on May 10, 2011 14:40:28 GMT 8
wow its come back to service again!
|
|
jimmiroquai
WW2AAA Board Chairman  Walking the endless steppes...
Posts: 1,326
|
Post by jimmiroquai on May 10, 2011 19:17:53 GMT 8
Very well done restoration!
|
|
|
|
Post by Waffen Ryan on May 11, 2011 18:09:16 GMT 8
Jimm, I got the idea from your M42. Also Dan's contribution in removing the first layer of rust. Thanks!
Raja, thanks again.
|
|
|
|
Post by Waffen Ryan on May 23, 2011 15:57:19 GMT 8
Here's the inner shell, after sanding and plastering...and grey primer... 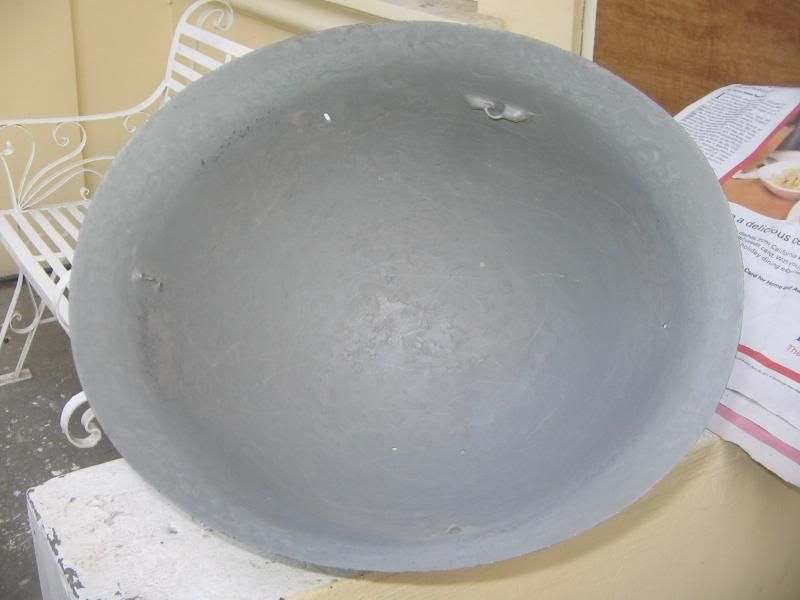 |
|
|
|
Post by Waffen Ryan on Jun 14, 2011 13:32:48 GMT 8
My liner and chinstrap arrived yesterday, the helmet's good as new...sad I can't upload the pictures...my SD card has a virus.
|
|
medic
Oberleutnant
 'Si Vis Pacem, Para Bellum'
Posts: 650
|
Post by medic on Jun 15, 2011 11:09:35 GMT 8
Looking great there! Your hard work paid off.
Question: Does the inner layer still smell of resin? Your head might come out smelling of fiberglass, heh heh.
|
|
|
|
Post by Waffen Ryan on Jun 16, 2011 15:18:43 GMT 8
Nope...the material I used was a resin sealant for car dents, it hardened fast and sanded it to smoothen the surface.
The helmet looks great and the liner fits perfect! I'll post some pictures soon.
Domo arigato Raja San.
|
|
|
|
Post by Waffen Ryan on Jun 17, 2011 13:32:14 GMT 8
Now, the finished project...voila! 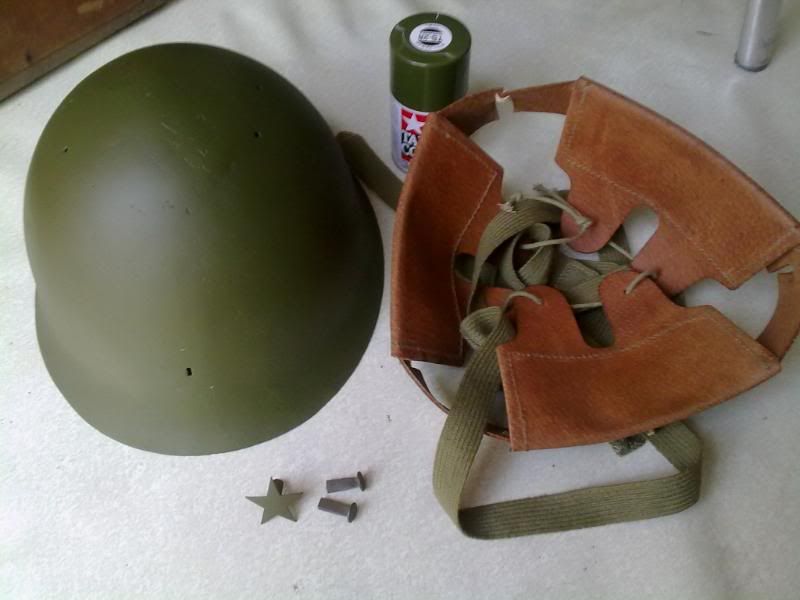 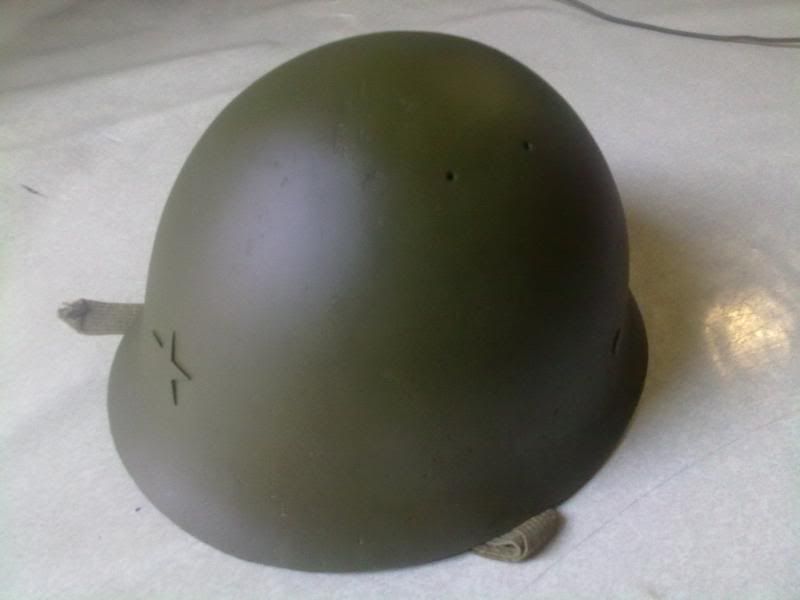 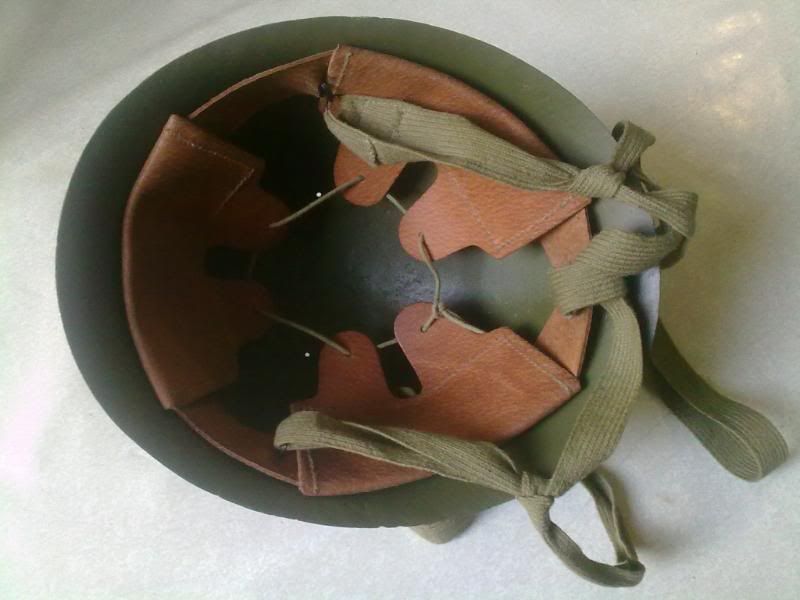 I'm very happy with the outcome. Open for comments...Thanks. |
|
|
|
Post by Waffen Ryan on Jun 17, 2011 20:27:18 GMT 8
Here's my daughter with my finished project.  |
|