Post by masterchief on Sept 14, 2009 23:32:10 GMT 8
Hi all ;D, this is my 2nd CYMA M14 conversion into a M1 Garand. I posted this in another site, & I'm done with my M1 Garand conversion, I am using mahogany wood (West Indian or Cuban mahogany - Mahogany has a generally straight grain and is usually free of voids and pockets. It has a reddish-brown color, which darkens over time, and displays a beautiful reddish sheen when polished. It has excellent workability, and is very durable -wiki). enjoy:

Here is the whole rifle, I still need to sand the front part and make the lower stock slimmer.


I did not have the tools to drill, so I'm drilling small holes for the battery compartment, after a few more drilling I could fit the battery really snug.

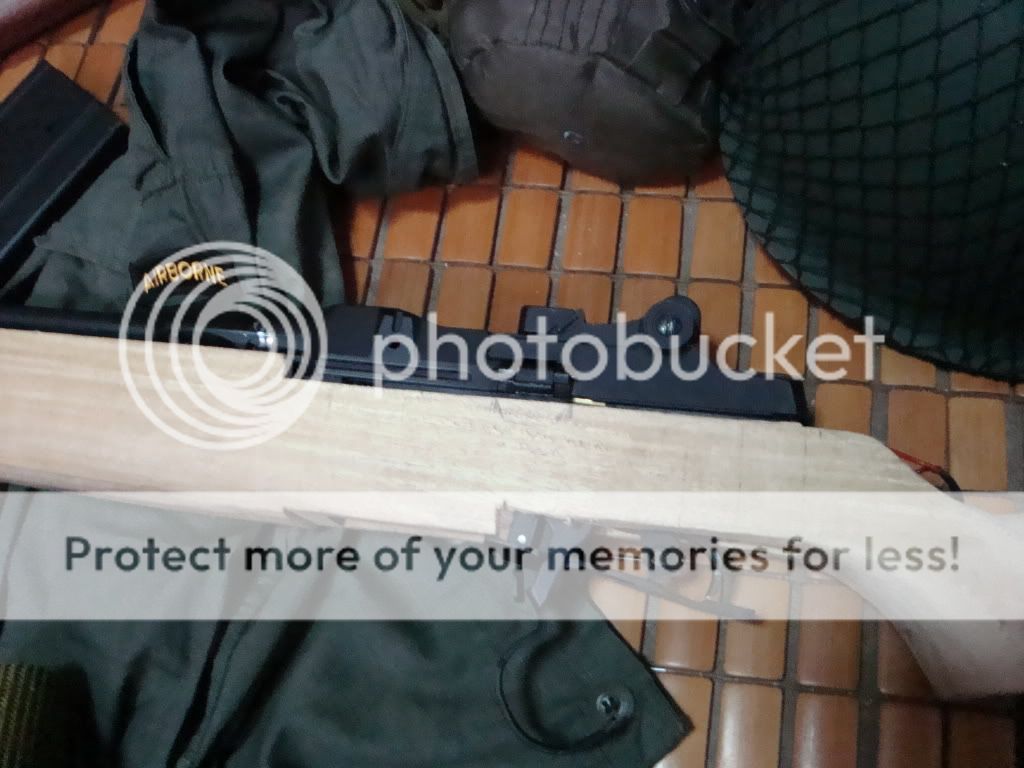


Here is the fat lower stock, I really need a hell lot of sand paper for this.


I tried to place in the Springfield cartouche just for the heck of it...

Here is the wood varnished. But this was tested on a piece of wood.


I am not done shortening the front hand guard, rear hand guard and the front hand guard ferrule to keep the rifle as a 43.6" (1,107.4mm) in length.
As you can see in the picture there is still no space to place the gas cylinder. I've manage to ask a machine shop to fabricate a M1 gas cylinder for me for my project. I'll probably get it after a few days.


As you would see, there is some improvement on the cosmetic look on the wood. I have ample time to chip off the unnecessary wood that was an eye sore a few days back. I also took the liberty to shave the upper & lower handguard to it's proper length. In a few days I will be placing a cover on the motor portion to hide the wires and motor.


I borrowed the metal parts from the gun shop. This is not a working part, so the detail is not as perfect as the real deal. I'll have to return this ASAP, the machine shop will take off unesseary parts for me.


the rifle feels pretty hefty when being carried.
This is the end of the line for my M1 Garand Conversion. The project ended January 5th. I did not have time to post the pictures, but here is the final product. (Not until I get my hands on some real M1 Garand parts for cosmetic effect.)
Enjoy troops:
Here is where I applied some wood stain on the furniture.


And here is the final product, with some maple varnish over the wood. I was going for Oak varnish, but they did not have any in stock.


Don't worry, I did not fix the rifle mecha over the wood yet, due to the wet varnish. But now the unit is solid with no wobble.


The metal front of the Garand is half bake. I will be fixing something for the gas port to have it look abit like the M1. But the machine shop I spoke to did not want to make the gas block look like the real thing. So, I will be doing some fiddling on my own. But over all, my project will end here for a while. If I get my hands on some real M1 hardware, then my project would be awsome. But this will have to do for the meantime.

61 days in a making. It was worth every effort. ;D
Now, I'm getting myself a router & a sander to make my conversions faster.
I hope this thread would help some folks with their future projects.
For M1 Garand parts for conversion:
www.m1garandrifle.com/Garandparts.htm
Here is the whole rifle, I still need to sand the front part and make the lower stock slimmer.
I did not have the tools to drill, so I'm drilling small holes for the battery compartment, after a few more drilling I could fit the battery really snug.
Here is the fat lower stock, I really need a hell lot of sand paper for this.
I tried to place in the Springfield cartouche just for the heck of it...
Here is the wood varnished. But this was tested on a piece of wood.
I am not done shortening the front hand guard, rear hand guard and the front hand guard ferrule to keep the rifle as a 43.6" (1,107.4mm) in length.
As you can see in the picture there is still no space to place the gas cylinder. I've manage to ask a machine shop to fabricate a M1 gas cylinder for me for my project. I'll probably get it after a few days.
As you would see, there is some improvement on the cosmetic look on the wood. I have ample time to chip off the unnecessary wood that was an eye sore a few days back. I also took the liberty to shave the upper & lower handguard to it's proper length. In a few days I will be placing a cover on the motor portion to hide the wires and motor.
I borrowed the metal parts from the gun shop. This is not a working part, so the detail is not as perfect as the real deal. I'll have to return this ASAP, the machine shop will take off unesseary parts for me.
the rifle feels pretty hefty when being carried.
This is the end of the line for my M1 Garand Conversion. The project ended January 5th. I did not have time to post the pictures, but here is the final product. (Not until I get my hands on some real M1 Garand parts for cosmetic effect.)
Enjoy troops:
Here is where I applied some wood stain on the furniture.
And here is the final product, with some maple varnish over the wood. I was going for Oak varnish, but they did not have any in stock.

Don't worry, I did not fix the rifle mecha over the wood yet, due to the wet varnish. But now the unit is solid with no wobble.
The metal front of the Garand is half bake. I will be fixing something for the gas port to have it look abit like the M1. But the machine shop I spoke to did not want to make the gas block look like the real thing.
 So, I will be doing some fiddling on my own. But over all, my project will end here for a while. If I get my hands on some real M1 hardware, then my project would be awsome. But this will have to do for the meantime.
 61 days in a making. It was worth every effort. ;D
Now, I'm getting myself a router & a sander to make my conversions faster.
I hope this thread would help some folks with their future projects.

For M1 Garand parts for conversion:
www.m1garandrifle.com/Garandparts.htm